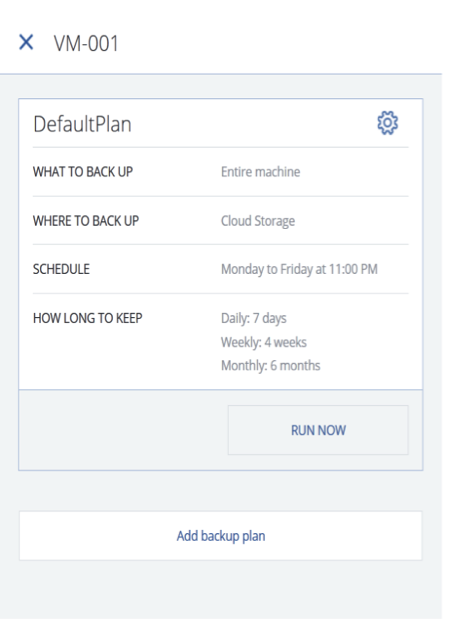
Create Backup Policy To Backup Your Server / VM / PC
- Backup policy is defined as backup plan in Acronis.
- Each backup plan is associated with a server/vm/mobile device.
- Each backup plan associated define a backup container/disk safe of its own.
- By default, there is a default backup template which you may use to start a backup on the fly Or you can further define this backup plan to suit your needs.
- Backup plan can be deleted
- Backup plan can be revoked from a server/vm/device
To backup an entire machine, disks, files Or system state.
- In Backup Management Console, click Backup.
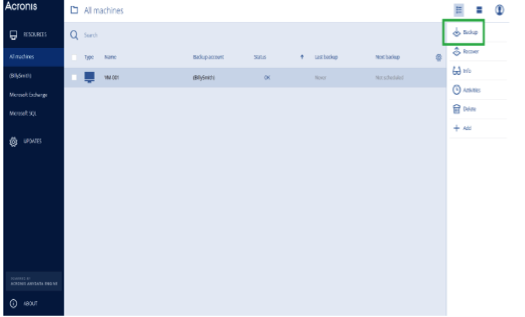
2. A backup plan template is offered:
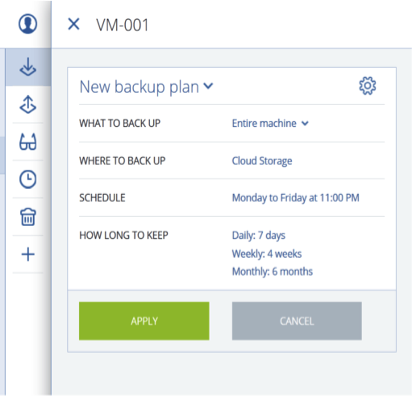
3. Select the items you wish to backup:
- Entire machine – include MBR, bootable partition and other partitions (whole server)
- Disks – you may select which disks attached to a machine to be backup
- Files – select to backup only certain files.
- System state – applicable only to Windows Vista or later. It comprise of below:
- Task scheduler configuration
- VSS Metadata Store
- Performance counter configuration information
- MSSearch Service
- Background Intelligent Transfer Service (BITS)
- The registry
- Windows Management Instrumentation (WMI)
- Component Services Class registration database
4. Select destination for your backup:
– Cloud (to Exabytes Backup cloud)
– Local folder on each machine with backup agent installed.
– Network folder. Specify the path to the share
5. Schedule a backups:
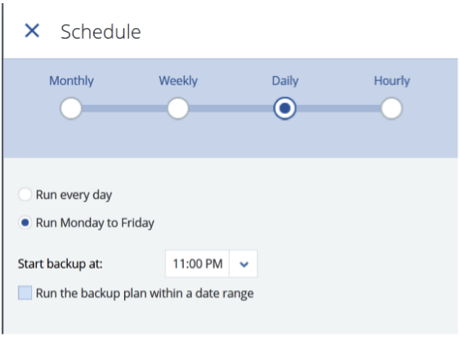
You can specify the schedule on monthly/weekly/daily and hourly basis. You may select the schedule to run on specific time.
6. How many retention points to keep. You may have multiple options. Either by age/number of backups or specify a single rule for all backups depend on your need.
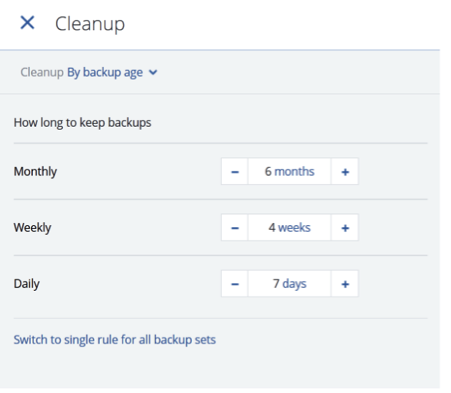
7. Click Apply.
8. Give the plan a relevant name and save the plan.
9. Now the plan is selected for your machine and will run on schedule.
