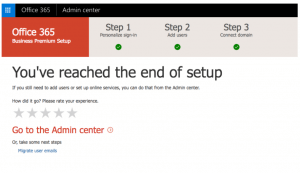
Office 365 Admin Setup using Setup Wizard
These steps are for businesses that have the Office 365 Essentials, Business, Business Premium Plan.
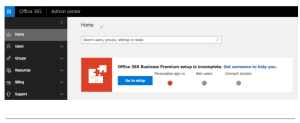
1. To start the wizard, choose Go to setup.
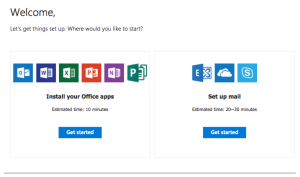
2. Choose Install your Office apps. For Office 365 Essentials, ignore this step.
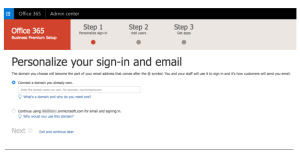
3. Put in your own domain that you want to connect to your Office 365 account such as yourowndomain.com and click Next.
4. Before you can add the domain, you need to click Verify to proof that domain is owned by you via MX or TXT record.
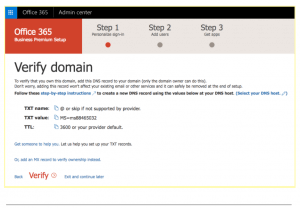
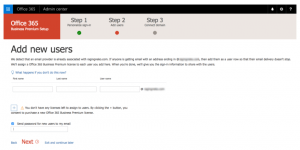
5. After your domain name is successfully verified, you can now create Office 365 user accounts. Optionally you can send the new user account password to your or administrator email account. Or you can skip this step and do it later.
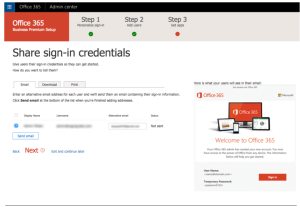
You can send the login credentials as an email to their alternative email address, download as cvs file or print their account details and share it with them later.
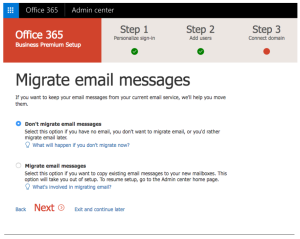
6. In the next step you have options to migrate your email messages like Gmail to your Office 365 email accounts. Skip this step for now by choosing Don’t migrate email messages and click Next.
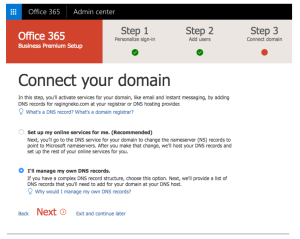
7. Next, you have to point your domain DNS to Office 365 so your user emails start working with Office 365. Choose Set up my online services for me if you want Microsoft to host your DNS records.
Else, you can choose I’ll manage my own DNS records and the setup wizard will provide a list of DNS records that you will need to add for your domain at your existing DNS zone.
8. After that, choose online services you want to start using. Or you can skip it and do it later.
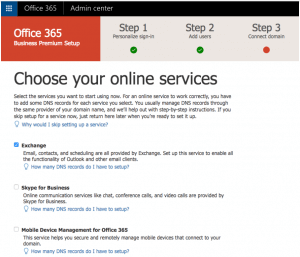
9. Click Next and you’re done.
