Windows SSD Control Panel User Manual
Quick Start Guide
This article describes how to use the Windows SSD control panel to manage your VPS. The control panel enables you to control many aspects of your VPS using a web interface.
1. Logging on to the Windws SSD Control Panel.
Enter your Email and Password and click “Login”.
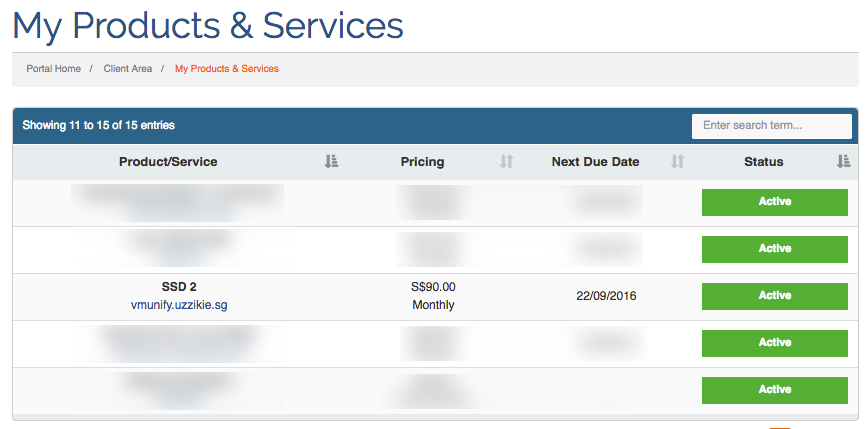
After that,click on “My Products & Services”, followed by the Windows SSD Plan product
e.g. SSD 1, SSD 2 etc

2. Control Panel Overview.
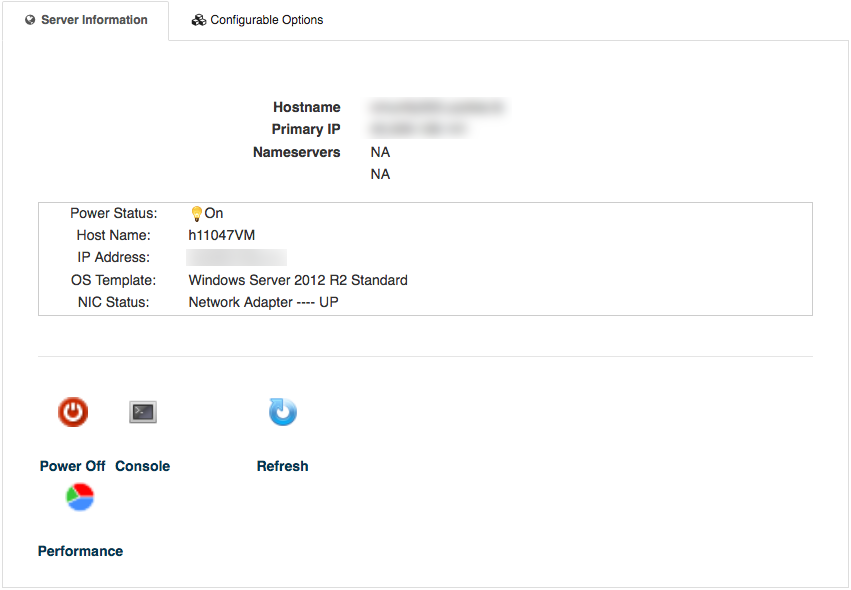
After logging in, you will be presented with your control panel overview. From here you can access all the functionality that the panel provides.
These include
– Viewing VPS Statistics
– Rebooting, Shutting Down/ Starting Up your VPS
– Serial Console (Remote Desktop) to your VPS

3. Viewing VPS Statistics.
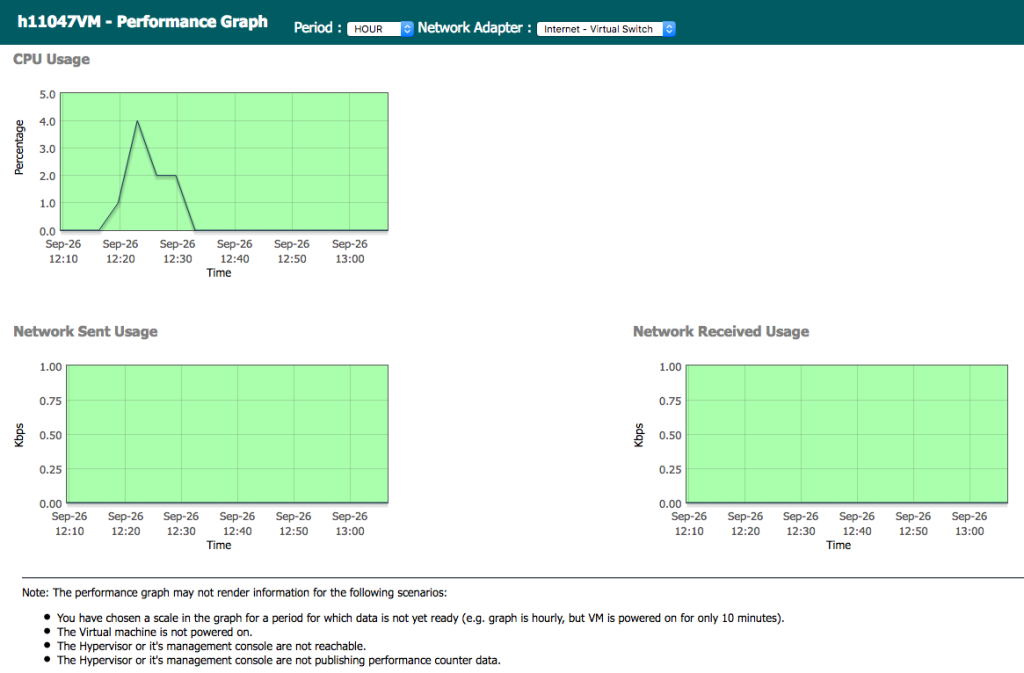
Click on the “Performance” icon to view the various statistics for your VPS. These include CPU Load, Traffic In and Traffic Out.
The Period for the graphs can be Hourly, Daily or Monthly.

4. Shutting Down/ Starting Up your VPS.
These buttons allow you to change the various power states of your VPS.
– Power Off will switch off your VPS if it is currently running.
– Power On will switch on your VPS if it is currently off.
5. Serial Console to your VPS.
Click on the “Console” button to initiate a new Remote Desktop (RDP) session to your VPS.
This experimental feature is only support on Internet Explorer. (Not all versions are supported)
Please note that we are not able to assist if this feature is not supported by your version of Internet Explorer.
We encourage our customers to use a RDP client instead to enjoy a better RDP experience.

